If you have used JBuilder to develop Java applications in the past but are looking to move to NetBeans IDE, you can easily get started. Here is a general guide to the things you need to do to start NetBeans IDE, import your JBuilder projects into NetBeans IDE, and continue work on your projects.
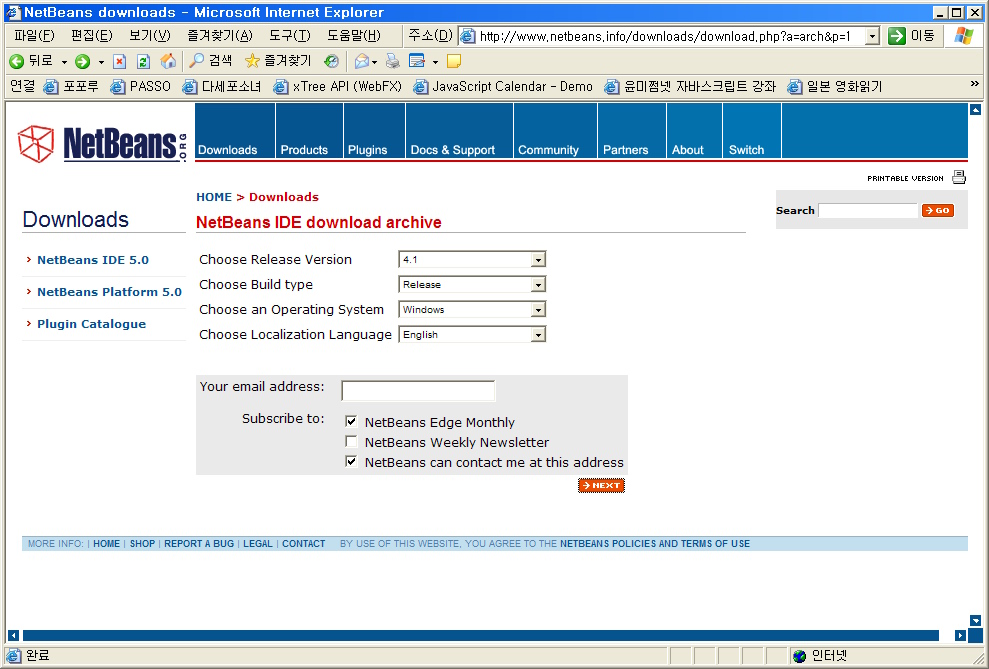
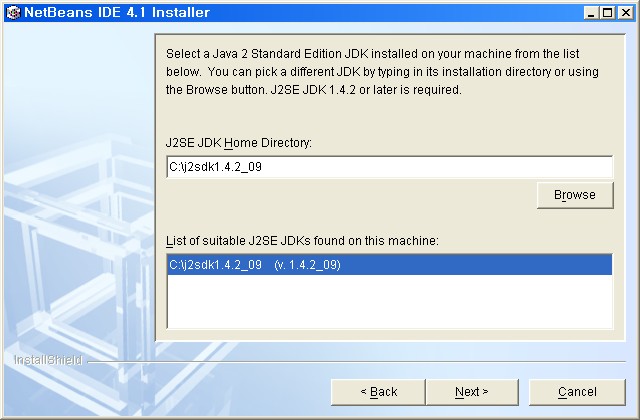
Download NetBeans IDE from http://www.netbeans.info/downloads/index.php.
Once you have downloaded NetBeans IDE, you can start work on importing existing projects from the JBuilder environment into NetBeans IDE.
All NetBeans IDE projects are all based around the Ant build tool, which makes NetBeans projects easily portable to other environments. However, you do not necessarily need to know anything about Ant to use NetBeans IDE. When you create standard IDE projects, you can handle all project configuration through the IDE's user interface. The IDE maintains the Ant script for you.
Conceptually, there are two types of projects:
- Standard projects. When you create a standard IDE project, the IDE also creates a build script that controls how the project is compiled, run, debugged, and so on. This build script is used when you run standard commands from the IDE (like Build Project) and can also be run from outside of the IDE. Standard projects are those created with any IDE project template except the "With Existing Ant Script" templates.
- Free-form projects. When you create a free-form project (a project created with one of the "With Existing Ant Script" templates), you specify an already existing build script to be used for standard IDE commands. The New Project wizard guides you through mapping IDE commands to the appropriate build targets. For some IDE features, such as debugging, you also need to create special Ant targets to get the feature to work.
To import a general Java application into NetBeans IDE, follow these general steps:
You can download the JBuilder Project Importer Module to import projects that you have developed with JBuilder 2005 into NetBeans IDE. (For NetBeans IDE 5.5, this module can also import projects developed with JBuilder 2006). This module eliminates or greatly reduces the amount of work you have to do get your projects working in NetBeans IDE as they worked in JBuilder.
To download the JBuilder Project Importer module:
- Start NetBeans IDE.
- In NetBeans IDE, choose Tools | Update Center.
- In the Update Center wizard, select the JBuilder Project Importer module and complete the wizard.
Once you have the importer module added, you can import Java SE projects from JBuilder with a simple wizard.
To import a general Java project into NetBeans IDE:
- In NetBeans IDE, choose File | Import Project | JBuilder Java Project.
- In the wizard, specify the JBuilder project file (Project to Import field) and the folder where you want the NetBeans IDE project metadata to be created (Destination Folder field).
In the NetBeans IDE 5.5 version of the project importer, you also are presented with JBuilder User Home and JBuilder Installation Folder. Filling in these fields (where appropriate) makes it easier for the IDE to handle any dependencies that the project has on other projects or libraries.
The IDE leaves the project sources where they are so that you can still work with them in JBuilder.
To build your application, right-click the project's node in in the Projects window and choose Build Project.
To run your application in the IDE, right-click the project's node in in the Projects window and choose Run Project.
Note:When you build and run applications in NetBeans IDE, the output also includes output from the Ant script that the project is based on. If you are not specifically concerned with the working of the Ant script, you can ignore that part of the output.
For more information on importing projects into NetBeans IDE 5.0, see http://www.netbeans.org/kb/50/import_j2se.html
NetBeans IDE does not have a special feature to convert JBuilder web and enterprise projects into projects in NetBeans IDE. However, importing existing projects into NetBeans IDE is fairly straightforward.
To import a web or enterprise application project, follow these general steps:
Before setting up a project in the IDE, make sure that the server that you want to develop for is registered in the IDE. Otherwise you will not be able to complete project setup.
The bundled Tomcat Web Server is registered with the IDE automatically. If you installed the NetBeans IDE 5.0/Sun Java System Application Server bundle, a local instance of the application server is registered automatically. If you want to deploy to an instance of an unbundled application server, such as the Sun Java System Application Server, JBoss, or WebLogic, you have to register a local instance with the IDE.
To register an application server instance with the IDE:
- Choose Tools > Server Manager from the main window.
- Click Add Server. Select the server type and give a name to the instance. Then click Next.
- Specify the server information, the location of the local instance of the application server, and the domain to which you want to deploy.
You can use either of the following techniques for setting up your project in NetBeans IDE:
- Create a new NetBeans IDE standard project using the sources from the JBuilder project.
- Use the Export to Ant wizard in JBuilder and then create a NetBeans IDE free-form project using that build script.
When converting JBuilder projects to NetBeans IDE, the way you convert the projects depends largely on these questions:
- How complex is the project in terms of dependencies, server configuration, database access, and so on?
- What technologies does the project use?
- To what extent does the project need to be maintained? Is it likely that the project will need major reworking or extenstion?
- To what extent do you use the IDE for building tasks and to what extent do you rely on command-line tools or other tools?
If you have a project that you have just started developing or which has not yet become too complex, you will probably want to convert the project into a standard NetBeans IDE project using a "With Existing Sources" template. Doing so gives you full integration with all of NetBeans IDE's features.
If you have a project that is very complex and/or which you do not anticipate extensively modifying, you might find that it is most practical to use a NetBeans IDE free-form project (using a "With Existing Ant Script" template). Creating a free-form project enables you to easily build and modify the project based on an Ant script exported from JBuilder. The IDE uses the Ant script you designate to handle standard project commands, such as building and running the project.
The advantage of this approach is that you do not have to reconfigure your project from scratch. However, if you want full IDE integration using this approach, you might need to some manual configuration to make some features work (such as debugging, code completion, and some other editing feataures). See Advanced Free-Form Project Configuration Guide
Importing a project as a standard NetBeans project
To import a web or enterprise project into NetBeans IDE as a standard project:
- In NetBeans IDE, choose File | New Project.
- Select the appropriate category (Web or Enterprise).
- Select the appropriate template and click next. The possible templates are Web Application With Existing Sources, EJB Module With Existing Sources, and Enterprise Application With Existing Sources.
- Complete the wizard.
Importing a project as a free-form NetBeans project
To import a web or enterprise project into NetBeans IDE as a free-form project:
- In JBuilder, select the project's node in the Project window.
- Choose File | New.
- In the Object Gallery, click Build. Then select Export to Ant and click OK.
- Complete the Export to Ant wizard.
- In NetBeans IDE, choose File | New Project.
- Select the appropriate category (Web or Enterprise).
- Select the appropriate template and click next. The possible templates are Web Application With Existing Ant Script and EJB Module With Existing Ant Script. There is no free-form project template for Enterprise Application (EAR) projects.
- On the Name and Location page of the wizard, specify the location of the build script that you have just exported and complete the other fields on the page.
- Complete the rest of the wizard.
After creating the NetBeans IDE project, you might need to use the Project Properties dialog box to configure the way the project is built and run.
You can access the Project Properties dialog box by right-clicking the project's main node in the Project window and choosing Properties.
To build your application, right-click the project's node in in the Projects window and choose Build Project.
To run your application in the IDE, right-click the project's node in in the Projects window and choose Run Project.
Note: When you build and run applications in NetBeans IDE, the output also includes output from the Ant script that the project is based on. If you are not specifically concerned with the working of the Ant script, you can ignore that part of the output.
For more general information on importing web projects into NetBeans IDE 5.0, see http://www.netbeans.org/kb/50/import_web.html
For more general information on importing enterprise projects into NetBeans IDE 5.0, see http://www.netbeans.org/kb/50/import_j2ee.html
Projects in the IDE are represented by a folder rather than a file. If you close a project, you can open it again by choosing the File | Open Project command and navigating to the folder containing the project's build script. Project folders are marked with the  icon.
icon.
@http://www.netbeans.org/kb/articles/import-jbuilder.html